
A toaster is one of the most frequently used appliances in any kitchen. From morning breakfasts to quick snacks, it delivers perfectly browned bread, bagels, and pastries with minimal effort. However, over time, crumbs, grease, and burnt residues accumulate inside the appliance, affecting its performance and posing potential fire hazards. Knowing how to clean a toaster effectively is essential not only for maintaining hygiene but also for extending the life of the device.
In this guide, we’ll explore professional and safe techniques for cleaning toasters, tips for keeping them in peak condition, and practical advice on preventing common problems. Whether you are a casual cook or someone who enjoys a spotless kitchen, this guide will equip you with everything you need to know.
Understanding Why Toaster Cleaning is Important
Toasters may seem simple, but their internal mechanisms are delicate and easily affected by debris. Crumbs and grease trapped inside the appliance can cause uneven heating, lingering odors, or even electrical malfunctions. In fact, according to a survey conducted by a major kitchen appliance safety group, nearly 35% of household kitchen fires involve malfunctioning small appliances, including toasters.
Cleaning a toaster isn’t just about aesthetics—it’s about safety, efficiency, and maintaining hygiene. Regular maintenance prevents mold growth from leftover moisture, keeps burnt crumbs from altering the taste of your toast, and ensures the heating elements work as designed.
Safety First: Preparing Your Toaster for Cleaning
Before you even think about cleaning, it’s crucial to prioritize safety. Always unplug the toaster from the power source before attempting to clean it. Even if the toaster has been unused for some time, residual electricity in its circuits can pose a risk.
Allow the appliance to cool completely after use. Hot metal and electrical components can cause serious burns. For those using toasters with removable trays or crumb catchers, this step makes the cleaning process simpler and more efficient.
Tools and Materials Needed for a Sparkling Toaster
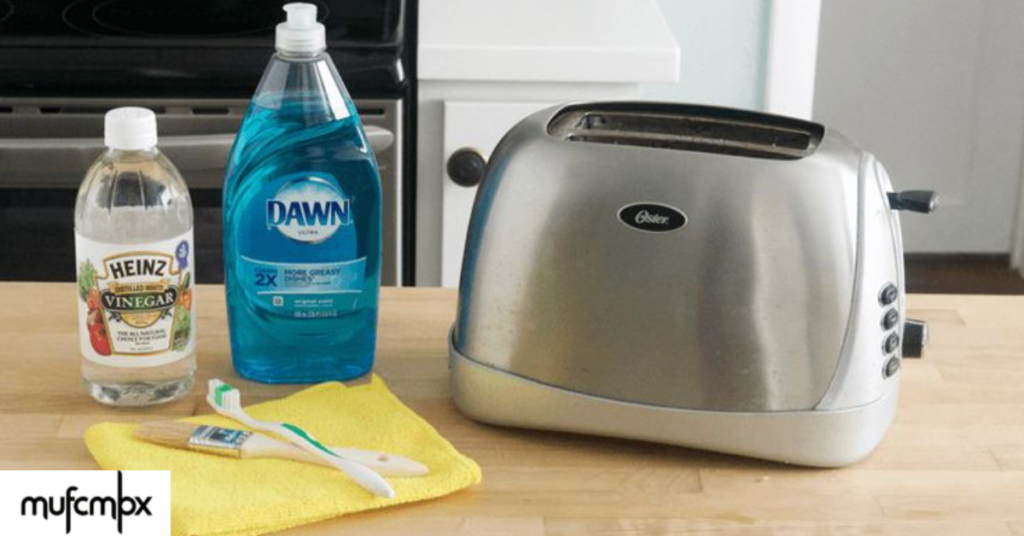
Cleaning a toaster doesn’t require specialized equipment. In most cases, a few household items will suffice. You’ll need a soft cloth or sponge, a small brush or toothbrush for hard-to-reach areas, warm soapy water, vinegar for stubborn stains, and a dry towel for final wiping. Some people also recommend a can of compressed air to blow out crumbs, particularly in compact or non-removable toaster designs.
While these may seem like simple tools, their proper use ensures the appliance remains intact. Avoid abrasive materials or harsh chemical cleaners, which can damage the toaster’s exterior or internal mechanisms.
Step-by-Step Guide to Cleaning a Toaster
The cleaning process can be divided into manageable steps.
First, remove all detachable parts, including crumb trays and any external panels that come off easily. Wash these parts separately using warm water and mild dish soap. If there is stubborn residue, let the pieces soak for a few minutes to loosen debris. Once cleaned, dry each piece thoroughly to prevent moisture from causing electrical issues.
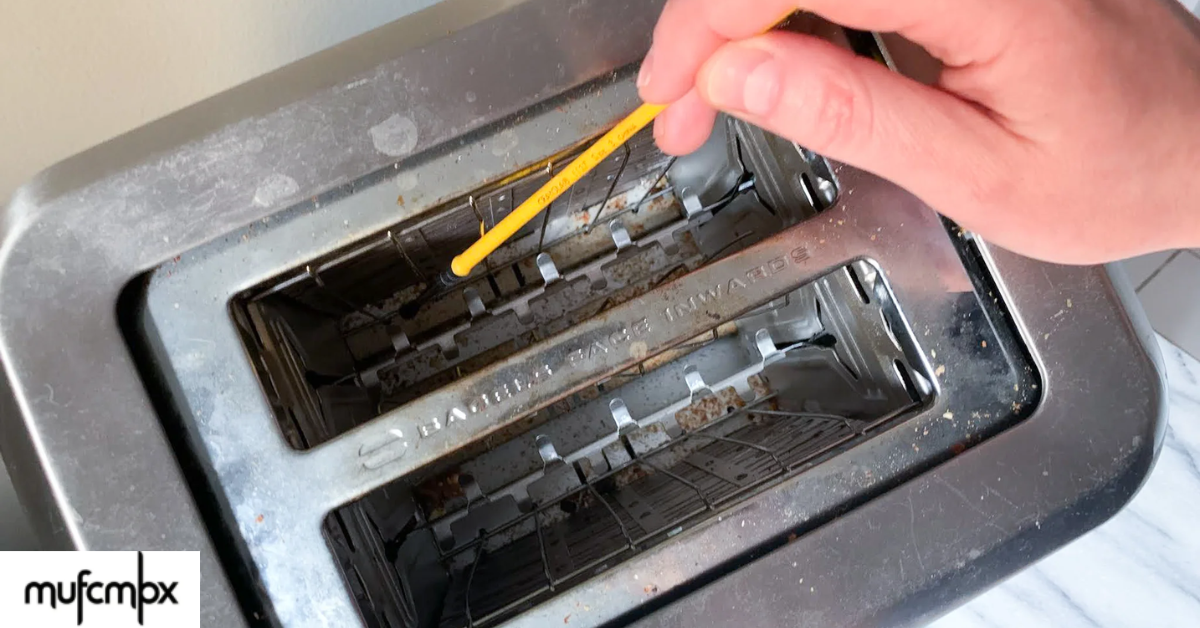
Next, turn your attention to the interior of the toaster. Gently shake out loose crumbs over a trash bin. A small brush or soft toothbrush can help dislodge crumbs stuck between the wires. For extra cleanliness, dip the brush in a solution of equal parts water and vinegar, which naturally breaks down grease and neutralizes odors.
Avoid inserting any liquid directly into the toaster, as this can damage the heating elements. Instead, wipe the interior carefully with a lightly dampened cloth, ensuring no moisture drips into the electrical components.
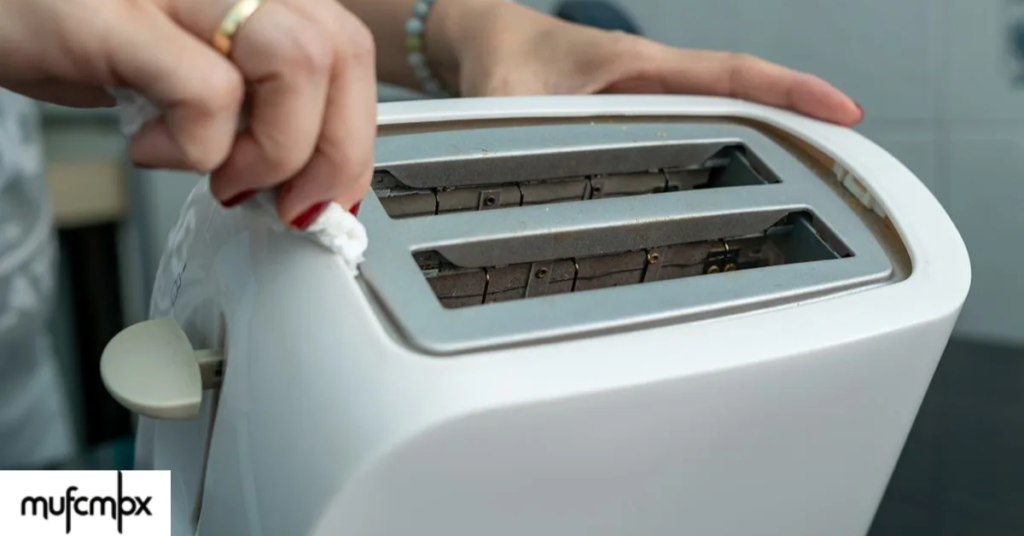
The exterior should be cleaned using a soft cloth moistened with soapy water or a gentle all-purpose cleaner. Pay attention to handles, knobs, and buttons, which often collect grease from repeated handling. Dry the surface completely before reassembling the toaster.
Advanced Tips for Deep Cleaning
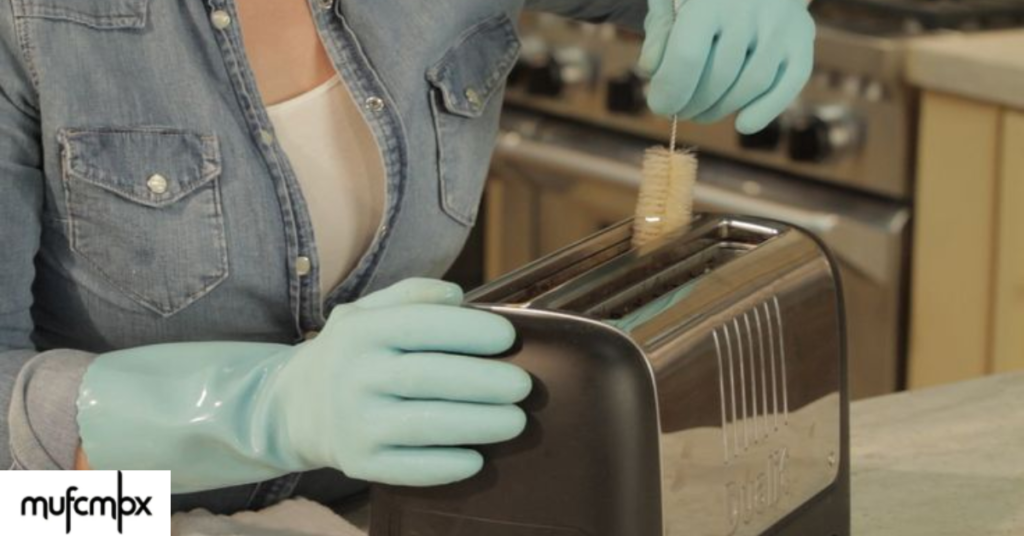
Some toasters, especially vintage or high-end models, require more detailed care. Using a compressed air canister can help blow crumbs out of narrow gaps without disassembling the appliance entirely.
For stubborn stains or discoloration, a paste of baking soda and water can work wonders. Apply gently to the affected areas, leave for a few minutes, and then wipe off with a damp cloth. This method is effective and non-abrasive, ensuring the toaster remains scratch-free.
Regularly inspecting the toaster for signs of damage, such as bent wires or frayed cords, is also part of proper maintenance. If any of these issues are present, it’s safer to repair or replace the appliance rather than risk continued use.
Maintaining Your Toaster for Long-Term Use
Once your toaster is clean, ongoing care is essential to keep it performing optimally. Empty crumb trays frequently, and avoid using utensils or metal objects inside the toaster, which can damage heating elements.
Some users report that wrapping the toaster loosely in a clean cloth or placing it in a dust-free area reduces the accumulation of debris. Additionally, using the toaster only for its intended purpose—bread, bagels, or pastries—prevents unusual residues from forming inside.
The Psychological Benefits of a Clean Appliance
Interestingly, keeping kitchen appliances clean has been linked to improved mental clarity and satisfaction in home environments. A clean toaster may seem trivial, but it contributes to a hygienic and visually appealing kitchen, which can improve your overall cooking experience.
For fans of lifestyle and celebrity culture, even small details like cleanliness can be linked to public habits. For example, in recent interviews, celebrity figures like Lisa Maria Potthoff have emphasized maintaining a clean and orderly living space, even in day-to-day routines. Articles about Potthoff Ehemann Lisa Maria Potthoff Scheidung have noted how household management often intersects with personal life narratives, reinforcing the value of simple domestic skills like cleaning.
Common Mistakes to Avoid When Cleaning a Toaster
One frequent error is the use of excessive water. Toasters contain sensitive electrical elements, and any liquid inside can cause short-circuits or permanent damage. Another common mistake is neglecting the crumb tray, which can lead to smoke buildup or fire hazards over time.
Some users also attempt to submerge the entire toaster in water, which is extremely dangerous and should never be done. Stick to gentle wiping, brushing, and soaking only removable parts.
Eco-Friendly Cleaning Alternatives
For environmentally conscious households, natural cleaning solutions are just as effective as chemical cleaners. Vinegar, baking soda, and lemon juice can remove grease, neutralize odors, and disinfect surfaces without contributing to environmental waste.
Additionally, these natural products are safer for households with children or pets. Using eco-friendly methods aligns with sustainable living while ensuring your toaster remains hygienic and functional.
How Often Should You Clean Your Toaster?
The frequency of cleaning depends on usage. For a household using a toaster daily, a thorough cleaning every two to four weeks is recommended. Light maintenance, such as shaking out crumbs and wiping surfaces, can be done weekly.
For occasional users, a monthly cleaning is generally sufficient. By adhering to a regular schedule, you reduce risks associated with burnt residues, lingering odors, and electrical malfunctions.
Signs Your Toaster Needs Professional Attention
Even with regular cleaning, some issues may require professional intervention. If your toaster emits smoke, sparks, or unusual odors during operation, discontinue use immediately. Persistent malfunctioning of heating elements or buttons that do not respond properly may indicate internal damage beyond simple cleaning.
Professional appliance repair services can inspect, replace, or fix internal components safely, prolonging the life of your toaster. Attempting to fix these issues yourself could void warranties or pose safety risks.
Conclusion
Cleaning a toaster is a straightforward yet crucial part of kitchen maintenance. By following safe, effective, and consistent cleaning practices, you can enjoy better-tasting toast, reduce fire hazards, and extend the life of your appliance. From daily crumb removal to occasional deep cleaning, each step contributes to a more efficient and hygienic kitchen.
Remember, safety always comes first. Unplug, cool, and handle your toaster gently. Use soft cloths, brushes, and natural cleaning agents whenever possible. With these practices, your toaster will remain a reliable and clean part of your daily routine.
Investing a little time in cleaning today prevents bigger problems tomorrow, making your kitchen safer, more hygienic, and more enjoyable.
FAQs
How do I clean a toaster without damaging it?
Unplug the appliance, remove crumb trays, shake out loose crumbs, use a soft brush for stubborn debris, and wipe the exterior with a damp cloth. Avoid submerging the toaster in water.
Can vinegar damage my toaster?
No, using a diluted vinegar solution on a cloth or brush is safe for cleaning. Avoid pouring vinegar directly into the toaster to protect electrical elements.
How often should I clean my toaster?
Light maintenance weekly and thorough cleaning every two to four weeks is recommended for regular users.
Is it safe to use baking soda on my toaster?
Yes, a mild paste of baking soda and water works effectively for stubborn stains on the exterior and removable parts.
What are the signs my toaster needs professional repair?
Smoke, sparks, unusual odors, or unresponsive heating elements are indications of internal issues that may require professional repair.


Leave a Reply